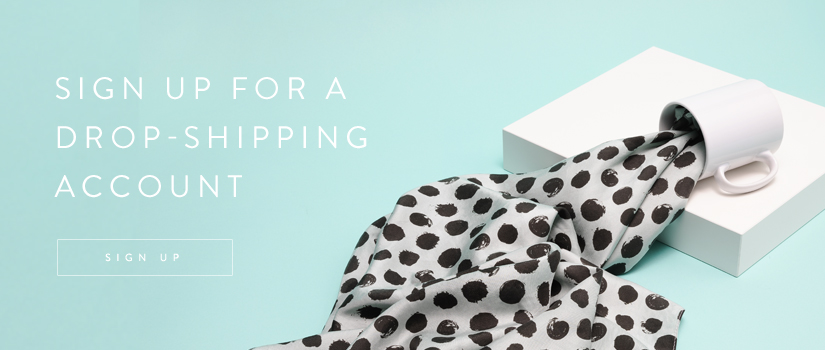
Have you heard the news? Contrado has developed an app that allows you to connect your Contrado storefront to your Shopify account, allowing your customers to place their orders on your Shopify website. If you’re as excited as we are about this, then what are you waiting for? It’s super easy to get started. If you aren’t sure how to set up a Shopify store, don’t panic!
We have put together a step-by-step guide to explain how to set up a Shopify store so that you can hit the ground running and start selling your amazing designs.
Step 1: Sign Up with Shopify
This one is super simple. Simply head on over to Shopify, and use the simple online form to create your very own Shopify account. You will need to give them your email address, a store name (which needs to be unique), and your details, including your name, address and contact number.

Step 2: Customize Your Shopify Store
Once you’re all signed up you’ll be taken to an admin screen. From here you are able to control your whole Shopify store, from the theme and layout to adding products and making them ready for sale.
There is a whole marketplace just for themes for your Shopify store, and a lot of them are available for free. You can select and preview a theme, before deciding to download it and set it as the theme for your store.
Once you’ve downloaded and published your theme, you will more than likely be able to make edits to it yourself, which will help your storefront to stand out from the others out there. These customizations allow you to add logos, images, carousels, color schemes, and fonts. Have a play around until you are happy with the way that your Shopify store looks.
Step 3: Add Products to Your Store
Great news – if you have already set your Contrado store up, all you need to do here is connect the two together. Click here for a step by step guide on how to do that in three easy steps.
If you have other products that you would also like to add to your Shopify store, then you can do that within the ‘Products’ section of your Shopify admin area. Click on the ‘Add a product’ button, and use the Shopify wizard to set up your product. There is a place for you to add your product photos, the name, and description of your items.
Everything can be rearranged once it’s uploaded, like a giant Pinterest board, so it doesn’t matter too much the order that you upload your things in.

Step 4: Organize Your Products
Similarly to the Contrado store platform, you have the option to set up collections within your Shopify store. Imagine this like a huge department store, where you get to choose the departments.
You can set up a collection for kitchen, bedroom, and bathroom, you can set up a collection for clothing, homeware, and stationery. You can even set up a collection for each season. This is the part where you get to choose how you want your store to be separated.
Each product isn’t limited to being added to just one collection either, you can add, for example, cushions, to your bedroom and your living room collection, if that’s what you want to do.
Step 5: Choose A Payment Gateway
This is how you will take payments from your customers. There are multiple options to choose from and they all have their advantages and disadvantages. It’s worth looking at the price and the commission rate, but that isn’t all. Check what features each will offer you. Work out what you need your payment gateway to do. We have put together a handy list for you of things you might want to consider.
- Price
- Commission Rate
- Fees (per transaction, a percentage or a flat fee)
- Card Types Accepted
Remember that the transaction fees for your payment gateway are separate from those that Shopify charges.

Step 6: Add Delivery and Tax Information
The easiest way to check that you have provided all of the information that you need is to go through each option in the admin area systematically. You fill out your business information in the general tab, although most of this will be complete from when you signed up.
Make sure that you fill your tax and delivery information out in their respective menus. Digital products may not need either of these to be charged, whereas physical products most likely will.
Step 7: Make Your Store Live
Once you are certain that you have filled all the relevant details in, it’s time to take the plunge and mark your store as live!
Don’t worry too much if there are a couple of things that you want to amend as you go through. It’s not likely that you will switch your store on and it will immediately flood with visitors. You’ll need to market it, and you need to make sure that you have search engine friendly listings if you want for your products to picked up in a search.

Step 8: Simulate a Transaction
Shopify has a handy test order feature that’s invaluable. There are two separate ways that you can do this. Both methods will make sure that everything is running smoothly. The first is to simulate a transaction. This is done using Shopify’s Bogus Gateway.
To do this you need to go to ‘Settings’ and then ‘Payment Providers’ from your admin area. Select ‘(for testing) Bogus Gateway’ from the third-party credit providers and then activate. Remember that any transactions that are completed while Bogus Gateway is your payment option.
Once this is set up, you can then place an order through your Shopify store. When it comes to making the payment, you just need to use the following information instead of your card details.
- Name on Card: Bogus Gateway
- Credit Card Number:
1 – To test a successful payment
2 – To test a failed payment
3- To test an exception (an error occurred with the provider) - CVV: Any three-digit number (e.g. 111 or 123)
- Expiry: Any date in the future
Remember when you are done testing your order, to change your payment gateway in ‘Settings’ and ‘Payment Providers’ back, as otherwise any order that is placed will be considered a test order.
Step 9: Place a Test Order to Check Your Payments
For this one, you’ll need to make sure that the payment gateway you want to test is selected in your settings.
Once everything is set up as it should be, you need to make a purchase from your store, just as a customer would. You’ll need to complete the transaction using your card details, as though you were actually making the purchase.
Then you need to cancel the order. You can do this in the ‘Orders’ section of your admin area. Simply select the order that you just placed and then click ‘More Actions’ and then ‘Cancel Order’. You can log into your payment gateway to make sure that no funds went through.
This test order is free to use, but you do need to make sure that you cancel the order. Otherwise, the transaction fees will appear on your Shopify bill. If you forget, you can still cancel afterward but you’ll be credited with a charge to your account, rather than just not being charged.
Step 10: Market Your Store and Sell Your Products
That’s it! Everything is all set up and good to go. Make sure that you have set your payment provider back to the one that you’ve selected, and then start shouting from the rooftops about your new Shopify store.
Ready to add Contrado products to your Shopify store? See how easy it is below.